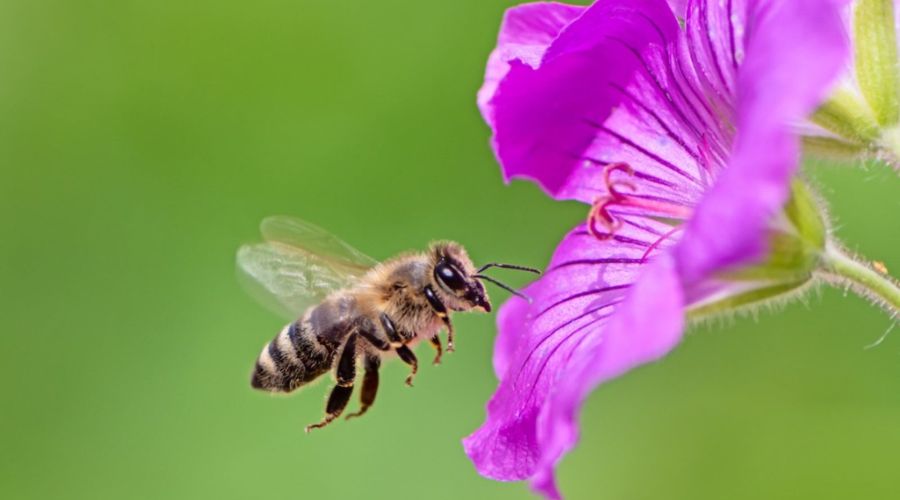
Essential Equipment for Insect Photography
So you’re itching to dive into the teeny-tiny world of insects with your camera—awesome! Shooting close-up and macro photography of these little critters is like a backstage pass to their private lives.
But first things first, let’s talk gear. You’ll need a few key pieces of equipment to start snapping pics like a pro.
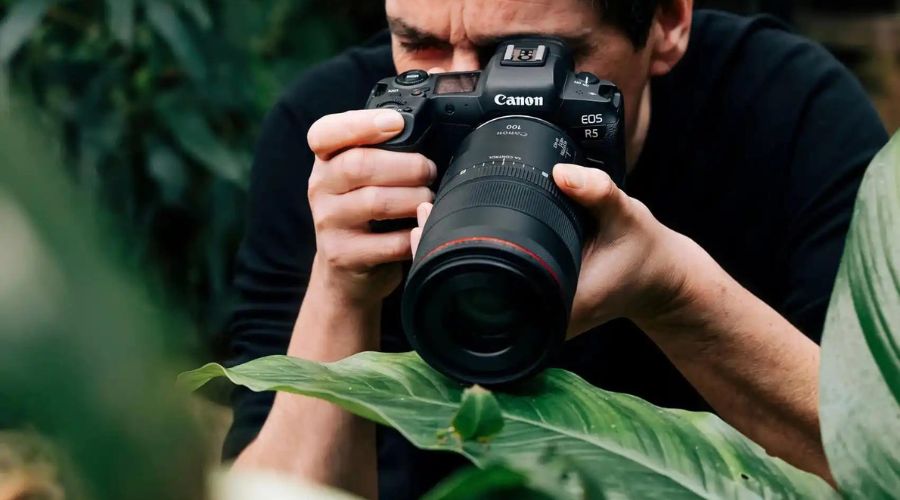
Choosing the Right Camera for Macro Photography
Don’t sweat it if you’re not rocking the fanciest camera—what you need is one that lets you get cozy with those insects.
A camera with manual mode is your new best buddy; it gives you the control to freeze those speedy ants in their tracks. DSLRs and mirrorless cameras are both solid picks.
Remember, it’s not the size of the boat, but the motion of the ocean—or in this case, the camera.
Macro Lenses and Their Importance
Now, a macro lens is the bread and butter of insect photography. These special lenses let you get up close and personal without scaring your subject away.
Looking for a little bug’s eye view? A macro lens is your ticket.
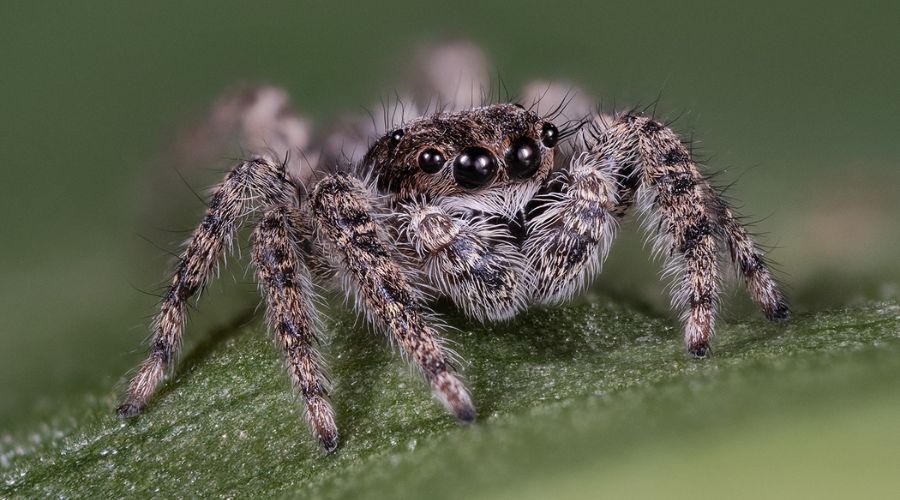
Think of it as a magnifying glass for your camera—you can see the intricate patterns on wings and the sparkle in a spider’s eyes.
Tripods and Stabilization Gear
Imagine trying to hold your breath and balance on one leg while taking a photo. Sounds tough, right
That’s where a tripod comes in—it’s like giving your camera its own set of sturdy legs, so your shots are sharp, not blurry.
In the bug world, where every move matters, a tripod is the difference between a masterpiece and a mess.
Using Extension Tubes and Close-Up Filters
Not ready to splurge on a macro lens? No problemo! Extension tubes and close-up filters can give your regular lens a boost.
Slap on an extension tube, and your lens can focus on something closer than it normally could.
Close-up filters screw onto your lens, like sunglasses, making it zoom in closer. Both are like secret weapons for getting those mega-detailed shots without breaking the bank.
Lighting Equipment for Insect Photography
Lighting equipment is like the fairy godmother of photography—it can make or break your image.
Insects aren’t going to hold still for you, so a flash can be a game-changer. It’s like having the sun on a leash—available whenever you need it.
An off-camera flash or ring light helps avoid harsh shadows and brings out the sparkle in a beetle’s back or the iridescence of a butterfly’s wings. Snap! Just like that, you’re lighting up the insect world.
With the right equipment in your camera bag and a dash of patience, you’re set to conquer the big world of little creatures. Just remember, practice makes perfect, so get out there and shoot away.
Before you know it, you’ll be the paparazzi of the insect world, capturing moments that most people zoom right past.
Camera Settings for Capturing Insects
Ready to snap some buzzing beauties and fluttering critters? Great!
Tweaking your camera settings is like setting a picnic for ants – do it right, and you’ll have a feast of photos.
Let’s dive in and get those settings just right for your insect photography adventure.
Understanding Aperture in Macro Photography
Think of aperture like the pupil of an eye: the wider it opens, the more light gets in.
For close-up shots, you want that sweet spot where the background blurs into a dreamy haze, making your insect the star of the show.
Aim for a lower f-number (like f/2.8 or f/5.6) to get a shallow depth of field. It’s like magic – everything but your subject fades away.
Optimal Shutter Speed for Capturing Motion
Insects can zip around faster than a hiccup. To freeze the action, you need a shutter speed quicker than a cat pouncing on a laser dot.
Try 1/200th of a second or faster. If your little friend is more of a still-life enthusiast, feel free to dial it down. But remember, even a gentle breeze can turn your photo into a blurry ballet.
ISO and Noise Considerations in Close-Up Shots
ISO is like your camera’s caffeine – crank it up too high, and things get noisy (grainy, in photo-speak).
Keep ISO as low as the light allows. In the glaring sun, you’re good at 100 or 200. When the clouds roll in, don’t be shy to nudge it up to 400 or 800 to keep your images crisp like autumn leaves.
Manual vs. Autofocus in Macro Photography
Autofocus is like GPS for your camera, but sometimes it gets lost, especially in the jungle of close-up photography.
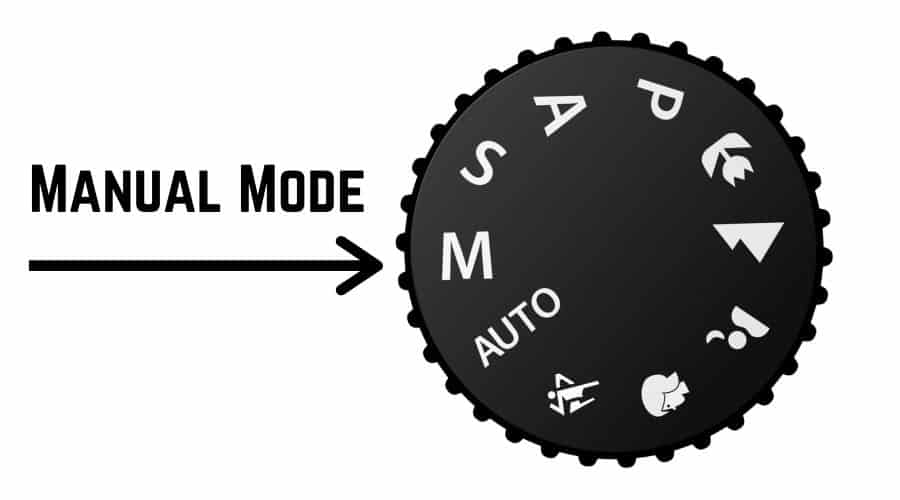
Flipping to manual focus gives you the steering wheel. Adjust your focus until your six-legged model is sharp as a tack. It’s a little dance between you and your camera – and when you nail it, it’s picture-perfect.
Remember, patience is the name of the game. The wind will blow, your subjects will scurry, but with these tips, you’ll be snapping shots that make viewers feel like they’re peering through a magnifying glass – up close and personal with nature’s little wonders.
Techniques for Close-Up Insect Photography
Learning how to shoot insect photography like a pro doesn’t require a PhD in Entomology. All you need is patience, a keen eye, and these tried-and-true techniques.
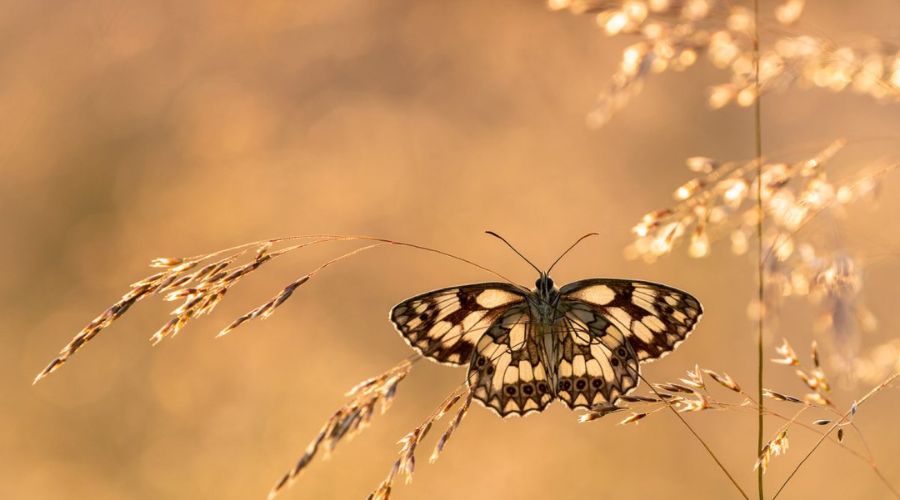
Finding and Approaching Your Insect Subject
Successfully snapping an amazing photo of a bug starts with finding your six-legged subject. Keep your eyes peeled in your backyard or local garden, and move like a ninja.
Slow and steady wins the race here; sudden movements will send insects flying away faster than a toupee in a hurricane.
Composition Techniques for Impactful Insect Images
Composition is queen, so make that bug look regal! Rule of thirds is your best bud – place the insect off-center to create visual interest. Pop goes the weasel, and pop goes your photo when you use contrasting colors to make that creepy crawler stand out.
Depth of Field and Its Role in Macro Photography
Depth of field (DOF) can be your secret sauce. A shallow DOF turns the world behind your bug into a dreamy blur, focusing all the attention on your subject’s intricate details.
It’s like having a spotlight on a stand-up comic – making the punchlines (or in this case, the insect features) hit harder.
Focus Stacking for Ultimate Sharpness
Want every hair on that ant’s back to be sharp enough to prick your finger? Give focus stacking a whirl.
Snap a series of photos at different focus distances and mash ’em together like potatoes for clarity that sizzles.
Apply these tips like butter on toast, and you’ll have insect photos that buzz with life and draw eyes like a magnet.
Tips and Tricks for Improved Insect Macro Shots
To shoot insect photography like a pro, you’ve got to get up close and personal with those tiny critters.
But don’t worry, you won’t need a PhD in bug behavior. Just a keen eye and a few tips up your sleeve!
Using Reflectors and Diffusers in the Field
Let’s cut to the chase: Lighting can make or break your shot. Sure, the sun’s out there doing its thing, but it’s not always your best friend.
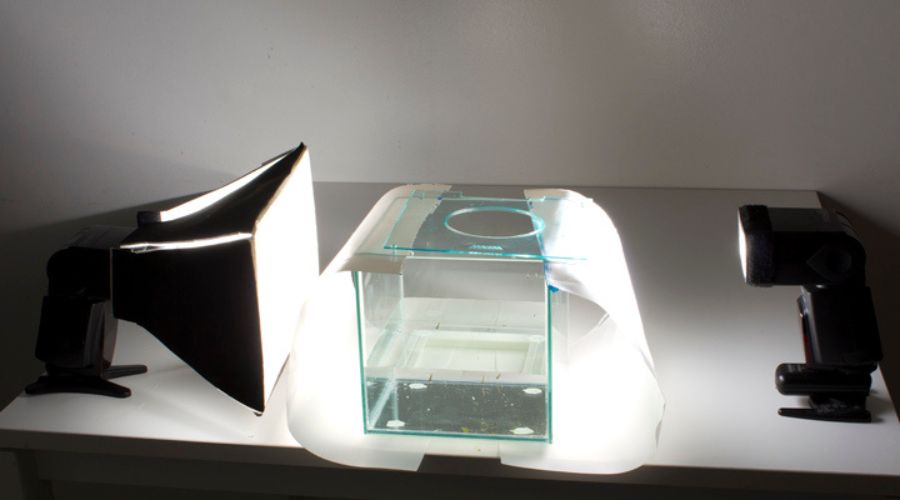
Here’s a pro tip: Grab a reflector.
It’s like giving your insects a personal spotlight! Reflect that sunlight onto the shady parts, and watch your bugs go from drab to fab.
And don’t forget the flash diffuser. It’s like sunglasses for your camera, toning down those harsh rays. It’s your best bet for making sure your little friends aren’t squinting in the spotlight.
D.I.Y. Macro Photography Hacks
Think you need fancy gear? Think again! A little DIY can go a long way.
Try this for size: Drop a dollop of water on your lens for a makeshift macro filter.
Talk about a budget-friendly magnifying glass! You’ll be nabbing shots that make those critters look like giants, all without breaking the bank. Just don’t drown your camera, or your photoshoot might turn into a swim lesson.
Attracting Insects for Better Photo Opportunities
Ever tried to get a bug’s attention? Good luck, unless you’re a flower.
But here’s a cheeky trick: dabble a bit of sweet syrup or nectar on a leaf. It’s like setting up a bug buffet, and guess who’s coming to dinner? Yup, every insect in the neighborhood.
Plus, while they’re munching away, you’ve got all the time in the world to snap that award-winning shot.
So go ahead, play caterer in the great outdoors and watch as the insects line up for their close-ups.
Bidding Farewell with a Bug’s Eye View
You’ve dipped your toes into the tiny world of insects and seen the up close and personal angles of their lives.
Remember, shooting insect photography is nothing short of a thrilling adventure, right in your backyard. But don’t let the thought of macro mastery bug you out. You’ve got this!
Now, armed with tips and tricks under your belt, there’s nothing standing between you and some stellar insect photography. It’s a bit like trying to capture lightning in a bottle, except your subjects have antennae.
And remember, patience is your new best friend. You’ll be spending a good chunk of time waiting for that perfect shot, but hey, good things come to those who wait.
As you wrap up and pack away your gear, don’t forget the golden rule: practice makes perfect. Or, in photography-speak, ‘practice makes pictures.’
It’s a jungle out there in the macro universe, but you’re now ready to snap shots like a pro. Keep experimenting with angles, lighting, and focus to make those little buggers shine. So, here’s to capturing the little giants of the grasslands.
Frequently Asked Questions
What do I need to start shooting close-up insect photography?
You’ll need a camera with a macro mode or a lens focused on macro photography. A steady hand or a tripod also helps keep your shots sharp as a tack. Oh, and patience, lots of it – bugs can be shy models!
Do I need a special camera for macro insect photography?
Not necessarily! While a DSLR with a macro lens is top-notch, many point-and-shoot cameras have a macro setting that does the trick. Just remember, the closer you can get, the bigger the buzz.
How do I find insects to photograph?
Head outside and keep your peepers peeled! Look around flowers, under leaves, and near water. These critters love to hang out in nature’s nooks and crannies. Be a backyard explorer and the bugs will come buzzing.
What’s the best time of day for insect photography?
Early morning or late afternoon is prime time! Insects are usually more sluggish and photogenic when the sun is low. The light is just right for making your shots sing.
How close should I get to an insect for a good photo?
Get as close as your camera allows without turning your six-legged subject into a sprinter. Remember, you’re on bug turf – respect their personal bubble and they’ll repay you with killer poses.
Should I use a flash when taking insect photos?
Flash can be your friend or your foe. A gentle burst can make colors pop, but too much will wash out your buggy buddy. If you can, use natural light – it’s like the difference between a campfire tale and a flashlight in the face.
Any tips for keeping the camera steady during close-up shots?
Plant your feet like you’re a tree and hold that camera like it’s a fragile egg. A tripod can be your best bud, especially when you’re waiting for the perfect shot. Also, take a breath before you click – it’s like a mini meditation for sharp photos.
How do I get the insect in focus and the background blurry?
Aim for a shallow depth of field by using a wide aperture – think a low f-stop number. This makes your six-legged star in sharp focus while the background becomes a cool, dreamy blur – it’s like magic for the eyes!
What’s the best approach to photographing insects without scaring them away?
Sneak up on those bugs like a spy on a mission – slow and steady. Avoid jerky movements – you’re not in a dance battle with them. Be patient and you’ll catch that bug-eyed beauty in its natural habitat.
Can I take insect photographs with a smartphone?
Sure can! These days smartphones are sharpshooters too. Many come with macro capabilities or you can nab a macro lens attachment. Keep your hands steady and tap the screen to focus – snap, you’re an insect paparazzi!

