Essential Equipment for Smoke Photography
Before you can start playing with smoke in your photos, you’ve got to gear up. Make sure you’ve got the right tools for the job, or you’ll be all smoke and no fire.

Choosing the Right Camera and Lens
First off, let’s talk cameras. Any DSLR or mirrorless camera will do the trick. You’ll want manual settings to control the shutter speed and aperture like a boss.
As for lenses, grab a macro if you’re getting up close and personal or a telephoto if you’re playing it cool from a distance.
Just make sure your lens is sharp enough to cut through the smoke.
Lighting Equipment for Emphasizing Smoke
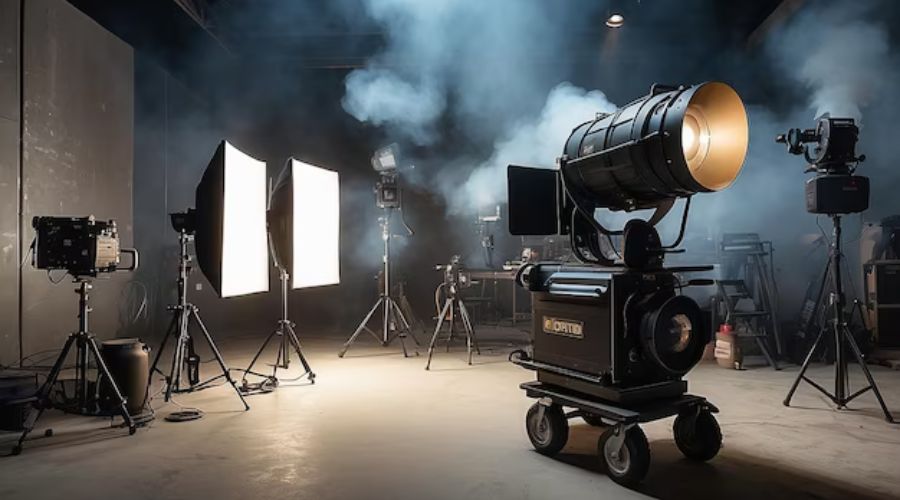
Shining the spotlight on your smoky subject is key. Use off-camera flashes or strobes to create drama.
Side lighting will bring out the twists and twirls of the smoke, making every shot a smokey work of art. Play around with backlighting, too—it can turn the smoke into a glowing specter.
Additional Tools and Accessories
Don’t forget to grab a few extra bits and bobs. You’ll need a backdrop—go for black to make that smoke pop.
A tripod holds your camera steady because shaky hands lead to blurry pics. And definitely pick up some incense sticks or a smoke machine to get those wisps and whirls going. With these in your toolkit, you’re ready to make some smoke magic.
Remember, smoke photography is about snapping at just the right moment. So keep it light, keep it fun, and enjoy the dance of smoke through your lens.
It’s not just about the gear; it’s about capturing a fleeting moment and making it last forever. Now, go create some smoking hot photos!
Safety Precautions and Preparation
Committing to creating smoke for photography doesn’t have to be a smoke signal for danger if you play your cards right.
Let’s keep things safe and sound so your photo shoot isn’t up in smoke—literally.
Setting Up in a Well-Ventilated Area
You don’t want to be caught in a fog as thick as pea soup when you’re trying to capture that perfect shot.
Make sure you’re not in an enclosed space tighter than a sardine can. Crack a window, prop open a door, or set up outdoors. Ensuring air can shimmy its way through your work area is like giving smoke the red carpet exit—minus the paparazzi.
Using Smoke Sources Safely
Work with smoke as if you’re handling hot potatoes—you want a fast, no fuss approach. If you’re using smoke bombs, incense, or dry ice, always keep water or a fire extinguisher nearby.
It’s like having a superhero sidekick ready to swoop in. And remember, nobody ever won a race by tripping at the start line, so read those instructions twice!
Pre-Shoot Safety Checklist
Last but not least, dot your i’s and cross your t’s before diving into the smoky sea. Ensure smoke alarms are off, because they’ll be chirping like a morning bird if you forget.
Check that your spelunker’s hat is on tight with the metaphorical flashlight shining. That means having all your gear prepped and at arm’s reach so that when the fog rolls in, you’re ready to snap those mystical photographs without a hitch.
Creating Smoke for Photography
So you want to make smoke for photography, huh? Well, you’ve come to the right place!
Smoke can add a layer of mystery and drama to your images, transforming an ordinary shot into a mesmerizing scene. Whether it’s wispy tendrils or thick plumes, the right implementation can be game-changing.

DIY Smoke Sources for Photography
Let’s dive into creating those smoke effects ourselves, shall we? It’s easier than making a PB&J.
You can use materials like cotton balls, paper, or even small pieces of fabric. Light them with a match and blow them out for a whispy dance of smoke.
But, remember, safety first—have water or a fire extinguisher on hand. After all, your photo shoot shouldn’t turn into a barbecue!
Commercial Smoke Machines and Their Uses
Feeling fancy and want to go pro? Grab a commercial smoke machine.
These bad boys can pump out a consistent stream of smoke and are perfect for larger scenes or when you need a constant haze. b
Just plug it in, let it warm up, and control the smoke like you’re conducting an orchestra. Plus, some even come with colored smoke options—talk about painting with clouds!
Using Household Items to Create Smoke
If you’re on a budget or just like to tinker, household items can be your DIY smoke buddies.
Ever overcooked something in the oven? That’s the sort of smoke I’m talking about—but controlled and less smelly.
Incense sticks are a go-to; they’re cheap, come in different scents, and you can direct the smoke where you need it. Just be sure not to set off the smoke alarm, as that’ll add a whole different kind of excitement to your shoot!
Alternative Smoke Sources: Incense, Dry Ice, and More
Last but not least, let’s talk about the cool kids of the smoke world. Dry ice—talk about a steamy affair—creates a dense, ground-hugging fog that’s perfect for spooky shoots or giving your photos a ‘walking on clouds’ vibe.
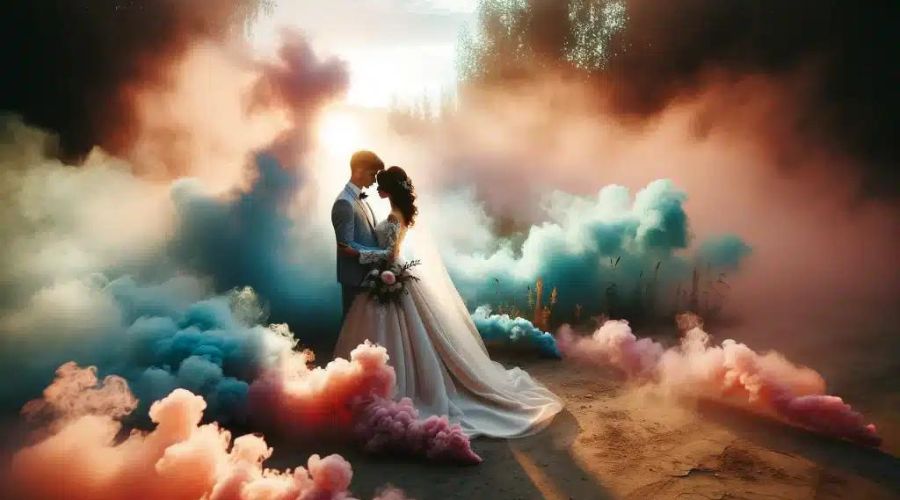
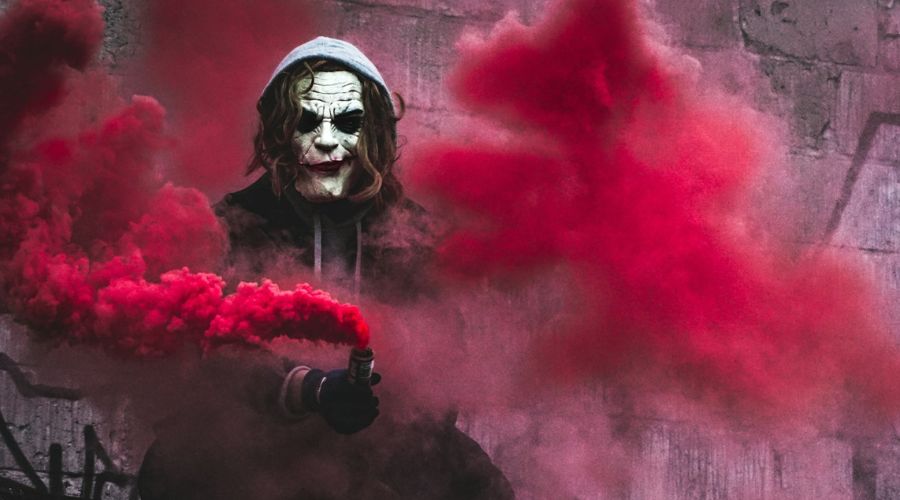
And there’s more! Colored smoke bombs can explode your photos into vibrant spectacles. Just toss one (safely), and you’ll get a burst of color that’s sure to turn heads faster than a puppy at a park.
Remember, practice makes perfect. Don’t be afraid to experiment with different methods until you find the one that tickles your fancy. Keep safety in the forefront; have fun with it and get ready to capture some smokey magic!
Techniques for Capturing the Perfect Smoke Photo
So you want to make smoke dance in your photos? Let’s dive into the smoke signals of photography – they’re sure to give that ‘wow’ factor to any image.
Get ready to learn some smokin’ hot tips for creative smoke photography!
Mastering Your Camera Settings
Having a handle on your camera settings is like having a magic wand – it can make all the difference.
First, set your camera to manual mode. This gives you control over the shutter speed, aperture, and ISO. A fast shutter speed will freeze the smoke in action, while a slower shutter speed allows it to blur, showing movement.
Keep your ISO as low as possible to avoid grainy photos – we want the smoke to be the star of the show, not the specks of noise.
Aperture-wise, f/8 or f/11 can offer a sharp focus on the smoke while keeping the background nicely out of the limelight.
Playing with Light and Shadow
Lighting is like the secret sauce in your photo recipe. Position a single light source beside or behind the smoke to separate it from the backdrop.
This can create an ethereal glow and really make the smoke pop. Playing shadow puppets with light and smoke can give depth to your shots – let shadows fall where they may, and watch as the drama unfolds.
Remember, the dance of light and smoke is a tango best performed with contrast in mind.
Composing with Smoke – Shapes and Flows
Smoke is unpredictable – like a toddler with crayons.
But that’s where the fun is! Try to “herd” the smoke by gently guiding it with a fan or even your hand.
Find the rhythm and flow, and let the smoke create natural, swirling patterns. Whether your smoke is as straight as a cornstalk or curvier than a country road, use it to guide the eye through your image.
And don’t forget, less is more – too much smoke can overshadow your subject faster than you can say ‘fog machine’.
Tips for Focusing in a Smoky Environment
Auto-focus might have a hissy fit in a smoky room, like trying to herd cats.
To keep your photos sharper than a porcupine’s backside, switch to manual focus. This lets you call the shots on sharpness.
Pre-focus on the area where you expect the smoke to waft through, or use a stand-in object – like a broomstick – to focus on before your smoky subject comes into play.
And remember, patience is a virtue; dial in that focus like you’re tuning a radio to your favorite station – get it just right.
Incorporating these techniques into your photography practice will help paint a masterpiece with smoke as your brush.
Creative Ideas for Smoke Photography
Let’s dive right into it: how to make smoke for photography that immediately hooks everyone with its visual drama.
Remember, smoke is like a dance – let it move freely, and you’ll capture something truly magical.

Incorporating Colors in Smoke Photography
Adding a splash of color can transform your smoky scenes from mysterious to mesmerizing.
Think about using colored smoke bombs – they’re like crayons for grownups! They create vivid clouds that can be both whimsical and otherworldly.
Just be sure you’re using them in a well-ventilated area (or let’s face it – you might set off the smoke alarm and that’s a party no one wants an invite to).
Using Smoke as a Backdrop for Portraits
Picture this: your subject, standing tall, with a gentle curtain of smoke wafting behind.
Talk about dramatic! It’s simple, too.
Position your smoke source behind the subject, and let the haze wrap around them like a cozy blanket. It’s a surefire way to add depth and intrigue to your portrait shots.
Abstract Smoke Art
Feeling like Picasso? Abstract smoke art is your playground. Let the smoke twirl and swirl in front of your lens.
Snap the shutter at the right moment and, voila, you’ve got yourself a masterpiece. Each wisp of smoke is like a snowflake – no two are ever the same, and that’s the real beauty of it.
Integrating Smoke into Still-life and Product Photography
Smoke’s not just for action shots. Spice up your still-life or product photography with a little puff of smoke.
It’ll take “boring” out of the vocabulary and replace it with “is that magic or what?” Just a hint of haze can make a simple setup look like it’s got a story to tell. And who doesn’t love a good story?
Remember, when it comes to creating and capturing smoke effects in photography, the key is to be bold, experiment, and most of all, have fun with it. After all, if you’re not having a blast, you’re doing it wrong!
Now You’re Smokin’!
Alrighty, you’ve reached the end of this smokin’ hot guide on how to make smoke for photography.
Remember, with the tricks up your sleeve now, your creative smoke photography is about to go off like fireworks on the Fourth of July. Just picture the cool, dreamy haze you can add to your shots without breaking a sweat.
Whether you’re using simple household items or going for the gusto with a smoke machine, you’re now equipped to bring a mystical touch to your photos.
Don’t forget to wave that incense stick like a wand, or watch the fog swirl from your DIY contraption and think, “I made magic happen.” Because, oh buddy, you sure did!
Keep your eyes peeled for the sweet spot – not too much, not too little, just the right puff of smoke. It’ll set the mood like a campfire ghost story.
And remember, practice makes perfect; so if you don’t nail it on the first try, just keep on truckin’. Before you know it, your friends will be saying, “Look at you, all fancy with your smoke shots,” and you’ll be grinning like the cat that got the canary.
Now go on, give it a whirl and show the world what you’ve got.
Frequently Asked Questions
What materials do I need for creating smoke in my photos?
You’ll need a few simple things: incense sticks or a smoke machine, a lighter, and a safe, ventilated space. Keep a fan handy too, to direct the smoke where you want it.
Is there a right type of smoke for photographic effects?
Not really! Both incense smoke and smoke from a machine look cool. Incense smoke twists and turns for whimsical shots, while machine smoke can give you a fuller, cloudier effect. Try both and see which one tickles your fancy!
Can I use colored smoke in my photography?
Sure thing! Colored smoke bombs can spice things up big time. Just be sure they’re safe for indoor use if you’re not venturing outside, and always read the instructions.
How do I make sure the smoke shows up well in the picture?
Have a dark background and side lighting to make that smoke pop. It’s like a dance where the light leads and the smoke follows. Watch them tango in your frame!
What camera settings should I use for smoke photography?
Manual mode is your friend here. Set a faster shutter speed to capture the swirly smoke in action. Keep your ISO low to avoid a grainy photo faux pas.
Are there any safety tips I should follow when creating smoke?
You betcha! Keep that smoke away from anything flammable, and ensure you’re in a well-ventilated spot. Don’t let the smoke drift into your camera – it’s not fond of smoke breaks.
How can I manipulate smoke to create cool shapes?
Use a fan or even a piece of cardboard to gently guide the smoke. Like directing a tiny smoke ballet right in your own studio. Be gentle; smoke is more delicate than your Aunt Betty’s china!
What post-processing tips can help enhance smoke in my photos?
Play with contrast and clarity to make that smoke stand out. Dodge and burn are like the salt and pepper of smoke photo seasoning. Sprinkle them on in your favorite editing program for extra pizazz.
Do I need any special permission to use smoke effects outdoors?
If you’re playing with smoke bombs, it’s worth a quick check with local laws. Don’t let a fun photoshoot turn into a date with the authorities!
Can I create smoke effects without burning anything?
Absolutely! There are Photoshop tricks or even dry ice that can create the illusion of smoke. Nobody will know the difference – your secret’s safe with us.

