Essential Equipment for Ice Cream Photography
Your gear can make or break the shot.
Don’t fret; you won’t need a truckload of gadgets, just some key pieces to scoop up those dreamy ice cream visuals.

Choosing the Right Camera for Ice Cream Shots
Kick things off with a decent camera for this job. Your smartphone could work in a pinch, but for those creamy close-ups, a DSLR or mirrorless camera will do wonders. They let you control the settings, so your ice cream won’t melt under the pressure of getting the perfect shot.
Lenses and Their Roles in Texture and Detail Capturing
Next up, lenses. A macro lens is the go-to for shooting the nitty-gritty details of ice cream goodness—a swirl here, a sprinkle there.
And if you want to zoom in on that texture, without getting your camera sticky, a lens with a longer focal length will do the trick.
Using Tripods for Stability in Ice Cream Photography
Don’t let the camera shake turn your scoop shot into a flop. Use a tripod to keep things steady as a rock—or as steady as a cone on a summer day.
Lighting Equipment for Enhancing Ice Cream Appeal
Lighting is like the sun on a beach day: it can make or break your mood—or photo.
Aim for soft, diffused lighting to avoid melting your subject. A simple lightbox or even some well-placed white cardboard can reflect light beautifully onto your chilly subject.
Remember, the proof is in the pudding, or in this case, the ice cream. So grab your gear and start clicking. Who knows, you might just freeze the moment and create something cooler than cool!
Setting up for the Ice Cream Photoshoot
Ice cream photography is more than just snapping a pic before your treat melts. Setting up your photoshoot takes a little prep work.
Selecting the Perfect Background and Props
First things first, pick a background that makes your snack pop. You don’t want a busy or clashing design.
A solid, pastel color or a wooden table gives that down-home, creamy goodness vibe.
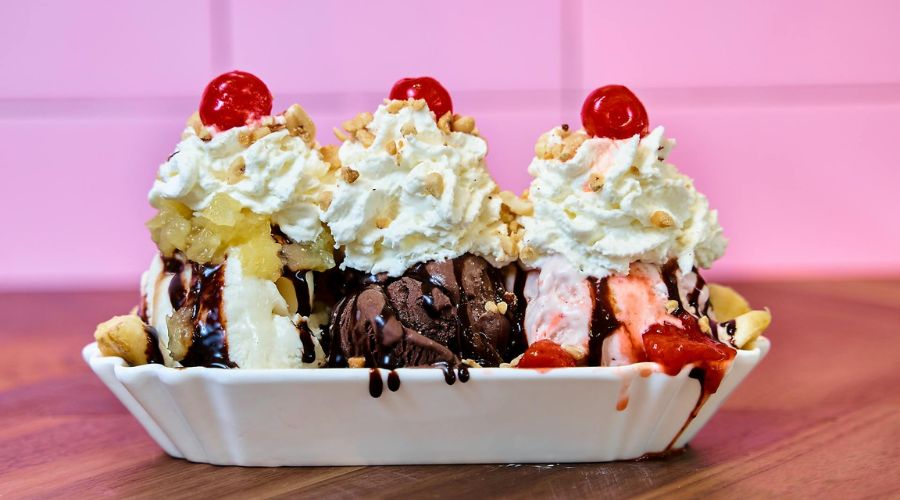
Now, grab props like sprinkles, cherries, and maybe a swirly straw to add some pizzazz and context.
Think about where an image might fit right in. It could be a corner shot, with oodles of white space for the eyes to rest.
Keep in mind, though, it’s not just about the ice cream; it’s about creating a scene that screams, “Eat me!”
Staging Professional Ice Cream Setups
When you’re staging ice cream, the clock’s ticking—the enemy here is a soupy mess.
Go for quick, bold moves; use a small scoop for consistent sizes, and chill your serving dishes to keep things frosty.
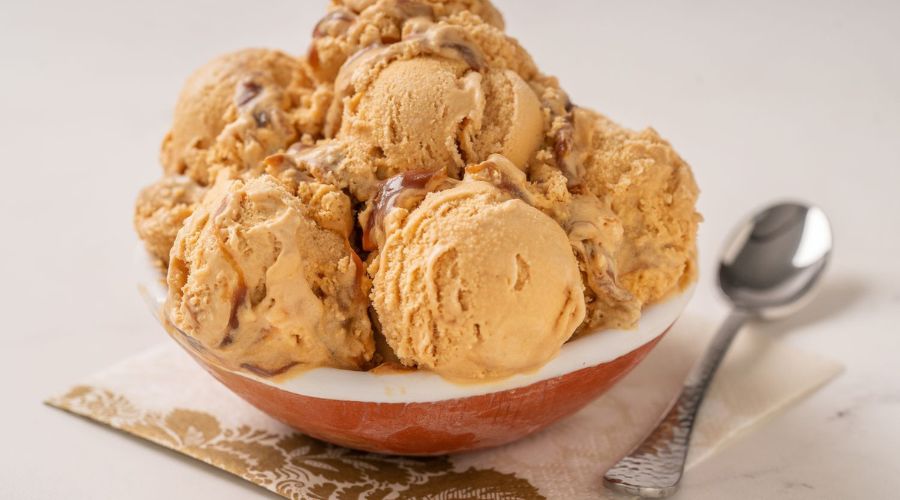
Stack your scoops high, let them be a little messy. Real life’s not perfect, and that’s what viewers crave—a dash of messy reality.
Remember, lighting is the superstar. Soft, natural light is your best bud. It’s like the glow from your fridge casts a heavenly spotlight on that midnight snack.
Position the lighting to the side for some dramatic shadows that say, “Psst, this is the good stuff.”
Working with Artificial Ice Cream for Long Shoots
Here’s a sneaky pro tip: fake it till you make it.
When the pressure’s on for a long shoot, use artificial ice cream. Yeah, it’s not the real deal, but boy, does it hold up! No drips, no stress.
This stand-in lets you fiddle with your shot until it’s as cool as a cucumber—or should I say, as chill as a chocolate sundae?
If you dare to try this trick, shape your faux cream to look like the real thing. The goal here is deception—make people drool over plastic.
And hey, just between us, we can keep the artificial secret on the down-low.
As you dive into the sweet world of ice cream photography, keep your spirits up and your scoops cold. And remember, it’s all about making that frozen delight look so good, folks want to reach out and take a lick.
Techniques for Capturing the Best Ice Cream Images
When you start snapping photos of ice cream, you’re freezing a moment in time as surely as the treat itself is frozen.
Let’s scoop up some top techniques for capturing those mouth-watering images that make everyone scream for ice cream!
The Role of Composition in Ice Cream Photography
Get the scoop on composition—it’s like the cherry on top for your photos.
Rule of thirds? Use it. Negative space? Love it.
Think like an ice cream sundae architect, layering elements and colors like you would toppings. Remember, your composition should be as deliberate as a sprinkle placement on a perfect scoop.
Capturing Texture and Color in Ice Cream
To make viewers feel like they can taste the rainbow of flavors, hone in on the ice cream’s texture and color.
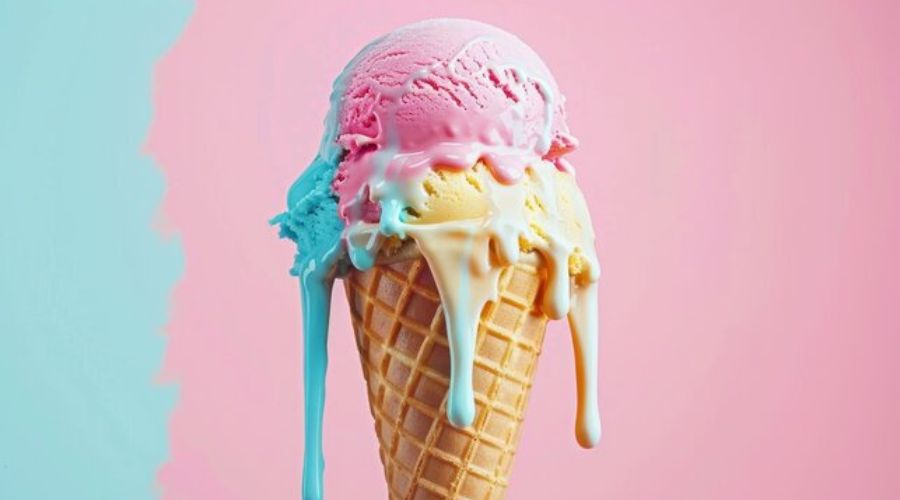
Snap a shot just as it starts to melt to get that creamy, dreamy look. Watch for those vibrant strawberry reds and chocolatey browns—they should pop just like the flavors on your taste buds.
Focusing Techniques for Sharp Ice Cream Imagery
Sharp as a cone’s point should be your focus. Use a narrow depth of field to make that ice cream stand out like it’s jumping out of the cone and into their hands.
Auto-focus is cool and all, but manual mode gives you the control you need quicker than a lick of a double-scoop.
Understanding Angles and Perspective in Ice Cream Shots
Shoot from down low, up high, or even straight on—it’s all about getting the angle that screams delicious.
Sometimes the best approach is a bird’s eye view, making it look like those scoops are a mountain range of sweetness.
Imagine you’re a mini-figure ready to dive into a creamy landscape, and find that perfect shot.
Post-Processing Tips for Ice Cream Photography
After you’ve snapped your chilly treats, ice cream photography shifts to the digital darkroom where the magic really happens.
Post-processing can turn a good image into a delectable masterpiece that viewers can’t resist.
Editing Software Options for Ice Cream Photography
Start by picking your weapon of choice—editing software.
You’ve got a buffet of options, from the heavy hitters like Adobe Photoshop and Lightroom to the more wallet-friendly alternatives such as GIMP or Canva.
Whichever you choose, make sure it’s one you’re comfortable with because you’ll be spending a good deal of time together. No one enjoys wrestling with tools during a creative flow.
Color Correction Techniques for Vibrant Ice Cream Photos
Now, let’s talk colors. Ice cream should look as mouth-watering on screen as it does in your bowl.
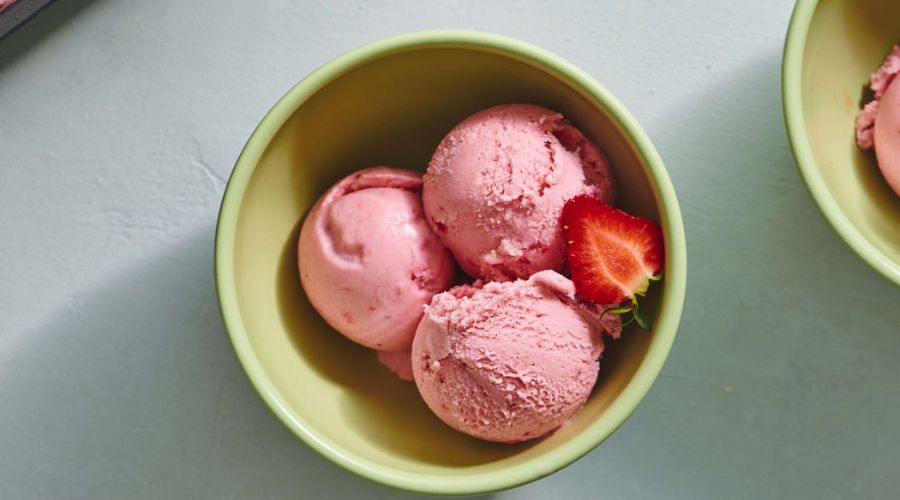
Use the color correction tools to make those strawberry swirls and minty greens pop. Balance your hues and temperatures so that vanilla doesn’t look like mocha, unless that’s the twist you’re going for.
It’s about making sure your photo doesn’t stray too far from the real deal—unlike a banana split, you don’t want to go overboard with toppings here.
Enhancing Details in Post-Production
Enhancing details is a bit like sprinkling on the right toppings—don’t skimp but don’t overdo it.
Sharpening tools are your friends, bringing out the textures of those ice crystals or the creamy smoothness of gelato. But remember, it’s a fine line between sharp and crunchy, and you wouldn’t want your ice cream looking like it needs a shave. Gently does it.
Cropping and Composition Adjustments in Editing
Last but not least, cropping and composition tweaks can make a world of difference.
Maybe that spoon sneaked into the frame, or the napkin in the background is throwing a tantrum for attention.
A little crop can help you ditch the extras and put the focus squarely on the star of the show. It’s like cutting the crust off a sandwich—sometimes the edges just aren’t as tasty as the middle.
And remember, ice cream photography isn’t just about the sundae on the screen; it’s about the experience you churn out.
So, keep your editing smooth, your flavors true, and your audience craving more. Snap, edit, and share those frosty masterpieces with confidence, and watch your social feed turn into an ice cream parlor.
Overcoming Challenges in Ice Cream Photography
You’ve got your camera in hand, ready to capture that perfect swirl of ice cream before it turns to goo.
Let’s face it, ice cream photography is like racing against the sun. It’s a sweet challenge, but one you can definitely lick with a bit of know-how.

Dealing with Meltdown: Timing Your Shots Right
Time is of the essence when you’re snapping pics of ice cream. You’re on a ticking clock the moment it scoops onto your cone or dish.
Work fast, but keep your wits about you. Think like a Ninja – quick, precise, and always ready for action.
Have your setup ready to go, camera settings dialed in, and shoot like you mean it, because you might not get a second chance before the meltdown begins.
Controlling Reflections and Highlights on Ice Cream Surfaces
Ice cream can be as shiny as a bald head in the sunshine! Those reflections and highlights can be tricky.
The trick is soft, diffused lighting to avoid glare. Play around with angles and bounce cards to soften any harsh reflections. It’s like playing hide and seek with the light, and you’re determined to win.
Keeping Your Cool: Handling the Pressure of Ice Cream Photography
Don’t let the pressure of melting ice cream turn you into a puddle. Stay frosty and embrace the challenge.
If plan A doesn’t work, remember there are 25 more letters in the alphabet. So, scoop another, set your scene quickly, and capture that ice cream masterpiece. And hey, if all else fails, you get to eat the evidence – now that’s a sweet deal!
Best Practices for Ice Cream Photography
You’ve got your scoop, your cone, and your camera, now what?
You want to nail that perfect shot of your chilly treat before it melts into a puddle.
So, let’s talk turkey – or, should I say, let’s talk rocky road. Photography revolves around capturing light, but ice cream photography?
It’s all about speed and precision.
Let’s dig into some top-notch tips for getting those creamy shots just right.
Picture this: vibrant colors, textures that pop, and details that make your taste buds tingle – that’s the snapshot you’re after.
Maintaining the Authenticity of Ice Cream in Photos
First things first, we’re keeping it real – no faking it with mashed potatoes here.
You want your ice cream photography to scream authenticity. To do that, keep your ice cream at the perfect temp.
Use a chilled scoop to carve out a firm, yet tantalizing ball of flavor. Then, work like a ninja against the clock!
Remember, timing is everything.
You’ve got a brief window before your subject turns to soup, so snap those photos like you’re on a mission.
Hygiene and Safety Considerations in Ice Cream Photoshoots
Alright, let’s talk cleanliness.
You’re dealing with food here, so you’ve gotta take that seriously. No one wants to see a picture of ice cream with a side of germs.
Wash your hands, use clean utensils, and for goodness’ sake, keep your studio cleaner than a whistle. Safety-wise, avoid any potential hazards on set – we don’t need any trips to the ER over a photo of a banana split.
Sweet Endings to Our Ice Cream Snapshots
So, you dipped into the world of ice cream photography and let’s say, you’ve scooped up some pretty cool shots.
Getting that perfect swirl of vanilla or the rainbow sprinkle shower isn’t as easy as it looks, but you’ve got this, hotshot!
A picture is worth a thousand licks, and your frozen treats are no exception. Now, let’s wrap this up like a waffle cone with all the fixings.
Throughout our frosty journey, you’ve seen that a good photograph can make any sundae look sundae-licious. You’ve learned to snap that shot before the melt, work those angles, and let natural light be your best pal.
Remember, it’s not about the gear; it’s about the moment. You might not have all the fancy equipment, but your cell phone and a scoop of creativity are all you need to capture ice cream greatness.
It’s okay if your first few tries were a bit, well, soft-serve. Practice makes perfect! Keep playing with colors, textures, and toppings.
Mix it up with different flavors and backgrounds. Create contrast that pops like a cherry on top. And if you drop a cone, laugh it off. That’s the cherry on top of this sundae of experience!
Your journey in ice cream photography may start as a rocky road, but soon enough, you’ll be on a sugar high from all the sweet success.
Now go ahead, give your friends a little brain freeze with your stunning snaps.
Frequently Asked Questions
What is ice cream photography all about?
Think of ice cream photography as capturing the chill vibes of your favorite frozen treat. It’s about taking photos of ice cream that make your mouth water and eyes widen with delight.
Do I need any special gear to dabble in ice cream photography?
Nope! Your trusty camera or smartphone will do just fine. It’s not about flashy equipment; it’s about how you click the pic.
How do you keep the ice cream from melting during a shoot?
You’ve got to be quick on the draw like a photography gunslinger! Keep that ice cream in the freezer ’til the last second, then shoot fast and furious.
Any tips for making my ice cream photos look really cool?
Play with colors and textures. A bright sprinkle on vanilla? Chef’s kiss! And remember, good lighting is your best friend.
What’s the best time of day for snapping ice cream pics?
Early morning or late afternoon light can work wonders. It’s like the sun’s giving your ice cream a little golden high-five!
Can I do ice cream photography with my friends?
For sure! Make it a party. Let them bring their favorite flavors. It’s more fun than a barrel of monkeys!
What’s a good backdrop for ice cream photos?
Keep it simple. A clean, solid color lets the ice cream steal the show. Think of it as the ice cream’s stage to shine on.
How can I get creative with my ice cream photography?
Think outside the cone! Maybe put your ice cream on a funky dish or next to your skateboard. It’s your scoop, your rules.
Do I need to know fancy editing to make my ice cream photos pop?
No way. A little touch-up here and there is cool, but too much editing is like too many cooks in the kitchen!
Where’s the best place to share my ice cream photos?
Social media is your playground. Hashtag it up and watch the likes roll in like waves on the beach.
Can ice cream photography become a legit job?
Sure as shootin’! If your photos are the bee’s knees, you might just find yourself on a sweet path to a cool career.
Do different ice cream flavors need different photo approaches?
Yep, each flavor’s got its own pizzazz. A zesty lemon sorbet? That’s a whole different ballgame from a decadent chocolate fudge.

