Understanding the Basics of Light Trails
Alright, buckle up buttercup, ’cause we’re diving straight into how to shoot fantastic light trail photography. Got your camera? Good. Let’s roll.
How Camera Shutter Speed Affects Light Trails
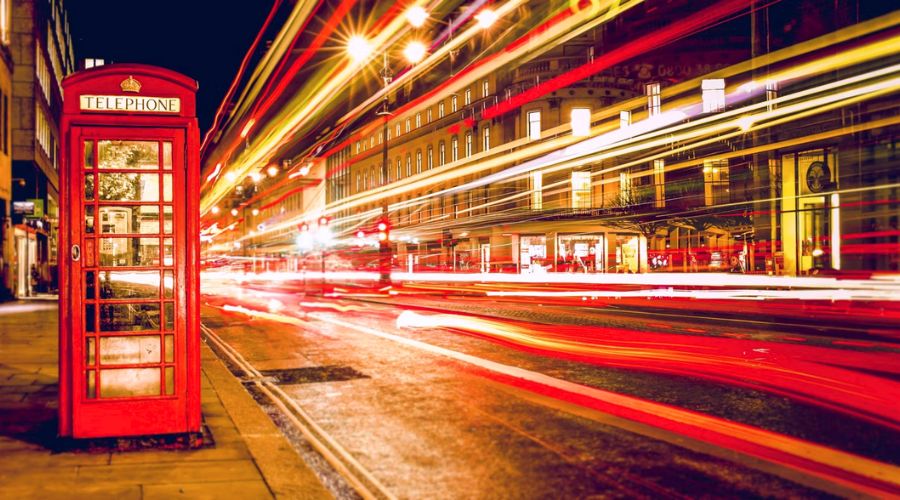
First off, shutter speed is like the bouncer of light at a club. It decides how long the light party gets to dance on your camera’s sensor. A slow shutter speed lets light groove longer, creating those snazzy streaks across your photo. Think of a snail-paced stroll—yep, that slow. Crank up your camera’s shutter speed to several seconds, and you’ll give cars turning into rivers of light. Magic!
The Role of Aperture in Light Trail Photography
Now, let’s chat aperture. It’s the eye of the camera, peeps! A wide aperture (a small f-number) lets in a boatload of light—great for night shoots. But careful, too much and your pic might get washed out like a bleached T-shirt. A narrow aperture (a big f-number) makes everything sharp as a tack. It’s all about finding that sweet spot, like Goldilocks with her porridge. Not too bright, not too dark—just right.
ISO Settings for Optimal Exposure
Last but not least, ISO. It’s the camera’s sensitivity to light, and it’s a delicate dance, folks. Crank up your ISO too high and your shot’s noisier than a bag of popcorn in the microwave. Keep it low, and you might miss capturing those cool light streaks. Aim for the lowest ISO you can get away with to keep things smoother than a jazz tune on a Saturday night.
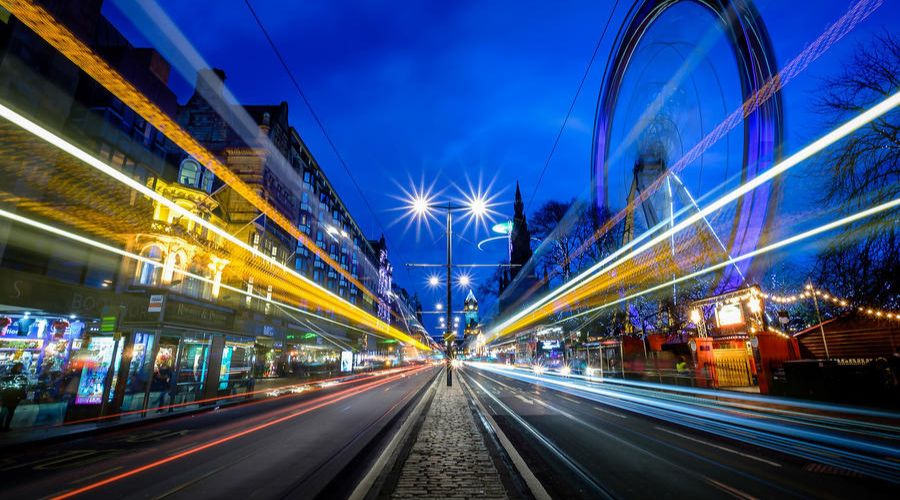
So remember, slow and steady wins the race for your shutter speed, find an aperture that’s “just right,” and keep that ISO on the down-low. Get out there, and start painting with light! And don’t forget – practice makes perfect!
Equipment Essentials for Light Trail Photography
To shoot fantastic light trail photography, you’ve got to have the right gear. Think of it like going to a dance party—you wouldn’t show up without your dancing shoes, right?
So let’s lace up and get into the nitty-gritty of what you’ll need to make those light trails pop.
Choosing the Right Camera for Light Trails
First off, you need to choose the right camera for the job. A camera that can dig its heels into a long exposure without throwing a fit. That means a camera with manual mode, where you can control the shutter speed, is a must.
A DSLR or mirrorless rig will serve you well here, as they’re more adaptable for this kind of night-time shindig.
Must-Have Lenses for Perfect Light Streaks
A wide-angle lens is your BFF when capturing light streaks that stretch across the scene like a business tycoon’s limo.
Something in the range of 18mm to 24mm will give you those epic, sweeping shots that’ll make your friends’ jaws drop. Keep that aperture wide and let the river of light flow in!
Using a Tripod for Stability
Now, you wouldn’t bake a cake during a trampoline contest, so why try capturing light trails without a tripod?
Make sure you’ve got a sturdy one that won’t wobble more than a bobblehead on a dashboard. Lock your camera in place, because stability is king in the land of light trails.
Remote Shutter Release and Its Importance
Ever tried to snap a pic with winter gloves on? It’s like tickling the camera – and that shake is a big no-no for light trails.
Grab a remote shutter release to keep things sharp. It’s like having a magic wand to capture the light without laying a finger on your camera!
Load up on this gear and you’re all set to hit the ground running. Snapping those stunning stripes of light will be a piece of cake, or should we say, a walk through a neon-lit park.
Remember, with the right tools, you’re halfway to painting the night with your camera.
Camera Settings for Capturing Light Trails
If you want to shoot fantastic light trail photography, it’s all about tweaking your camera settings.
Get ready for a ride through the exciting twists and turns of long-exposure photography!
Manual Mode: Giving You Control Over the Outcome
Flip that camera mode to manual. This is your key to the kingdom!

Automatic can’t hold a candle to the customization you’ll have at your fingertips. Balance those lights and darks, and get ready to make some magic happen with your own two hands.
You’re in the driver’s seat now – let’s drive those settings like you stole ’em!
Setting Your Shutter Speed for Long Exposures
Think of shutter speed like a game of Red Light, Green Light. Too fast, and you’ll miss the smooth light trails. Too slow, and it’s overexposure city.
Aim for a shutter speed that’s just right – slow enough to let cars paint light across your frame. This is where the rubber meets the road in light trail photography, about 5 to 30 seconds should get those lights dragging just the way you like.
Aperture Settings for Deep Focus in Light Trail Photography
Eyeing that depth? Crisp, sharp, and everything in focus is what we’re after.
Dial in that aperture to around f/8 or higher. Think of it as the eyes of your camera – squinting to see all the details from near to far.
And just like your eyes on a sunny day, you’ll catch every little thing in deep, vivid detail.
ISO: Balancing Sensitivity and Noise
Now, ISO is a touchy fella – turn it up too high, and your photo will look like it’s been sprinkled with digital confetti. Keep it low, around 100 or 200, to keep that noise down and the quality up.
You want those light trails smooth as butter, without any grainy gatecrashers spoiling the party.
Scouting and Choosing the Perfect Location
To shoot fantastic light trails, first, you’ll need to scout for the ideal backdrop.
A winning scene often includes elements that guide the eye and a standpoint that frames the hustle and bustle.
Remember, a dash of patience mixed with a sprinkle of adventure can lead to a visual banquet!
Urban Versus Rural: Contrasting Environments for Light Trails
City centers are buzzing hives for vibrant light trails, with cars painting ribbons of color across your canvas.
But don’t count out rural roads – they offer a serene stage where the occasional vehicle carves a solitary, winding path through the dark. Each setting tells a different tale under the night sky.
Timing Your Shoot: The Best Time for Light Trail Photography
Twilight is your magic hour when the sky is a painter’s muse, and streetlights begin their nightly dance.
Aim for this sweet spot when the sun dips below the horizon but before the world is blanketed in darkness. This is when light and shadow play nicely together, and you can capture that perfect exposure.
Safety Considerations When Shooting at Night
Staying safe means staying smart. Lugging around your tripod like King Arthur’s Excalibur might give you a sense of safety, but don’t forget to stay alert and watch for rubberneckers who’ve had one too many at the local watering hole.
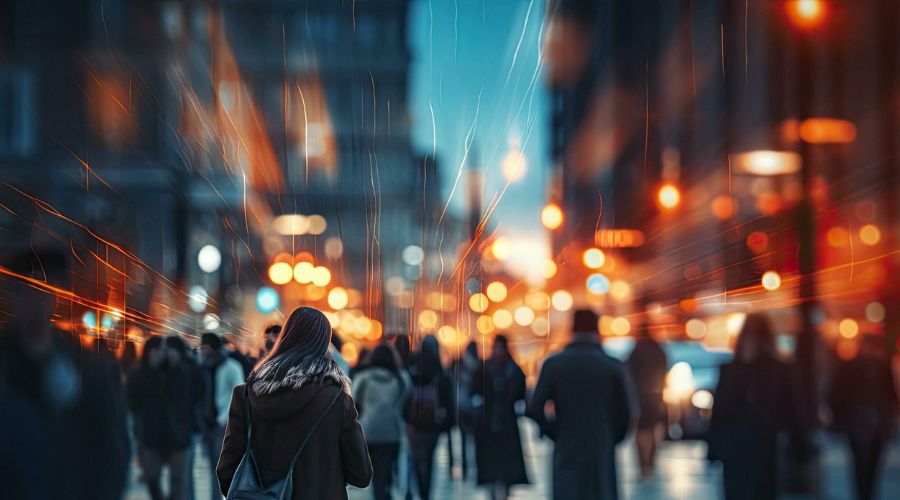
Armed with these tips, you’re now ready to bring urban light symphonies to life or unveil the tranquility of a country road after sundown.
Find your groove, set the stage, and let the light trails dance!
Composition Techniques for Dramatic Light Trails
Sharp shots are a dime a dozen, but a light trail photo is like catching lightning in a bottle – tough, yet oh-so-rewarding once you nail it.
Leading Lines and Their Impact on Composition
Think of leading lines as the yellow brick road in The Wizard of Oz—they guide your viewers through the photo, from munchkins to the emerald city. Use roads, bridges, or even sidewalks to point the way.
You want those trails of light to whisk your viewers’ eyes from one end of your frame to the other, like a Broadway marque leading up to the big show.
Incorporating Foreground and Background Elements
Background matters. It’s like the crust to your light trail’s apple pie. Sure, the filling’s the star, but nobody wants a filling without a good crust.
A silhouette of a cityscape or a bridge can add context to those streaking headlights or that light-saber battle between neon signs.
And don’t forget the foreground. A dash of something up front adds spice, like sprinkling salt on watermelon—unexpected but delightfully enhancing the flavor.
Playing with Perspectives for Unique Shots
Let’s veer off the beaten path. Get low or climb high—changing your angle can transform car lights into a river of stars or a dance of fireflies.
It’s like painting with light, with the cityscape your canvas and every car a stroke of your brush. Experiment and watch as ordinary roads become a photographer’s playground.
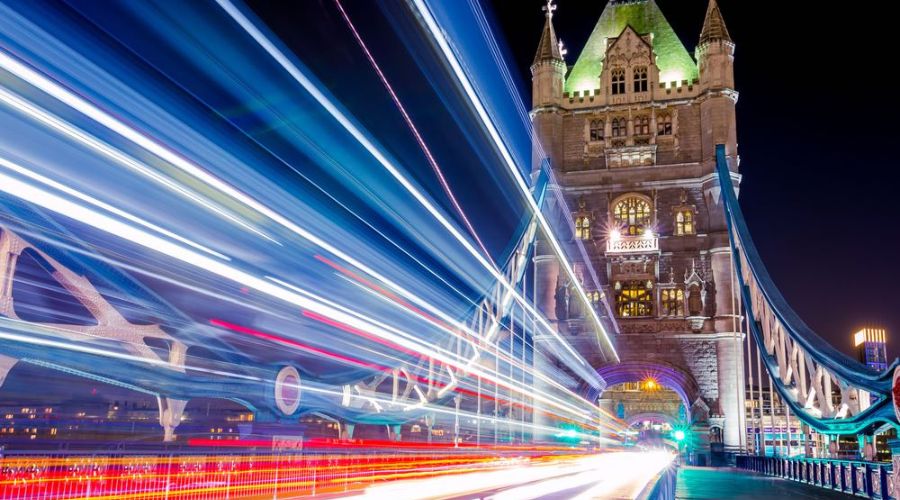
Keep these tricks up your sleeve, and you’ll be capturing light trails that make folks say, “Hot dog!” And remember, practice makes perfect. So go ahead, try these out until your light trail photos are the cat’s pajamas.
On-Site Shooting Tips and Tricks
Light trails can add a dynamic energy to your photography that will leave folks gobsmacked.
All you need is a few tips and tricks up your sleeve, and you’re ready to turn night into your own personal canvas.
Long Exposure Techniques for Smooth Light Trails
Smooth light trails are like butter, they spread beautifully across your image. To achieve this, you’ll be playing with long exposure.
Set your camera to Shutter Priority or Manual mode, and start with an exposure between 10 to 30 seconds.
Remember, the longer the exposure, the longer the light trail. Just like pouring maple syrup on waffles, you need a steady hand, so use a tripod to prevent camera shake.
Remember, even a little jiggle can make your light trails go wonky.
Experimenting with Movement for Creative Effects
Don’t just sit there like a bump on a log; get creative with movement!
You can pan the camera alongside a moving light source for parallel light streaks or zoom in or out during exposure for a “whoosh” effect that feels like traveling through hyperspace.
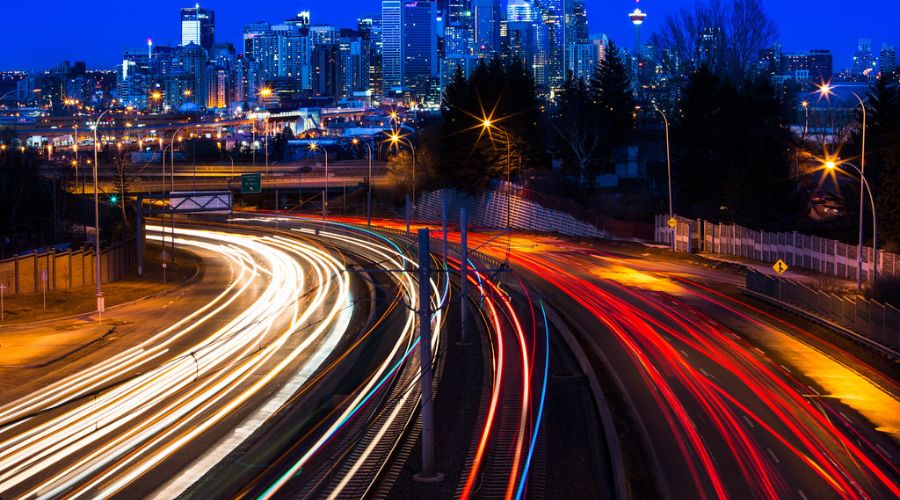
It’s like playing with sparklers on the Fourth of July—you can write your name in the dark sky by moving the light in the pattern you want!
Finding Balance Between Ambient and Artificial Light
Landing the sweet spot between ambient light and artificial light is like finding the last piece of pie at a family reunion—it’s a joyful moment.
Too much street light can wash out light trails, while too little can leave your photo as dark as a cellar.
Aim for the blue hour or areas with just enough ambient light to illuminate the surroundings without overpowering your light trails.
It’s about finding harmony, like a choir hitting the perfect chord.
Wave Goodbye with a Flash!
Alright, you’ve come to the end of the road – well, almost. Shooting fantastic light trail photography isn’t rocket science, but you’ve got to have your ducks in a row.
Remember, the best part about this journey is that each shot you capture is as unique as a snowflake. Keep that camera steady, your eyes peeled for the perfect streaks of light, and your finger ready on the shutter button.
Don’t let the simplicity fool you; it’s the simple things that often leave the grandest impressions. Just like a firefly doing the mambo on a dark summer night, your photos will dance with lights if you follow these steps.
Scoop up that camera, scout your spot, and let the light trails lead you to photography stardom. Break a leg!
Before you dash off into the sunset, itching to capture those zippy streaks of color, chew on this: practice makes perfect. So, don’t just sit on the sidelines; jump into the game.
Frequently Asked Questions
What do I need to start shooting light trail photography?
You’ll need your camera, a sturdy tripod, and a remote shutter release. A manual mode on your camera would be as handy very handy. Think of these as your basic fishing gear when you’re angling for those shiny light trails at night.
Where’s the best spot to capture light trails?
You’re looking for a spot where cars play tag with their headlights. Bridges and overpasses are your golden ticket here. They’re like the front row seats at a fireworks show where the cars do the sparkling.
What’s the best time to shoot light trails?
Twilight is your magic hour, my friend. It’s when the sun has clocked out but the city lights start punching in. That sweet spot where the sky’s still got a hint of blue but the streets are lighting up like a Christmas tree.
How do I set my camera for light trail photography?
Set your camera to Manual Mode – that’s like taking the training wheels off your bike. Then, dial in a slow shutter speed – think of it as letting the faucet drip to catch more of that light. Your aperture should be around f/8 to keep the light lines sharp as a tack. And go easy on the ISO, keep it low to avoid grainy shots.
Do I really need a tripod for shooting light trails?
The tripod keeps your camera steadier than a statue, making sure those light trails are smooth as butter.
Any tips for composing a cool light trail shot?
Look for leading lines – they’re like the yellow brick road guiding your eyes through the photo. Find a perspective that makes the trails dive into your picture. Remember, variety is the spice of life, so mix up your shots. High, low, left, right – dance around with your camera to capture different angles.
Can I shoot light trails with my smartphone?
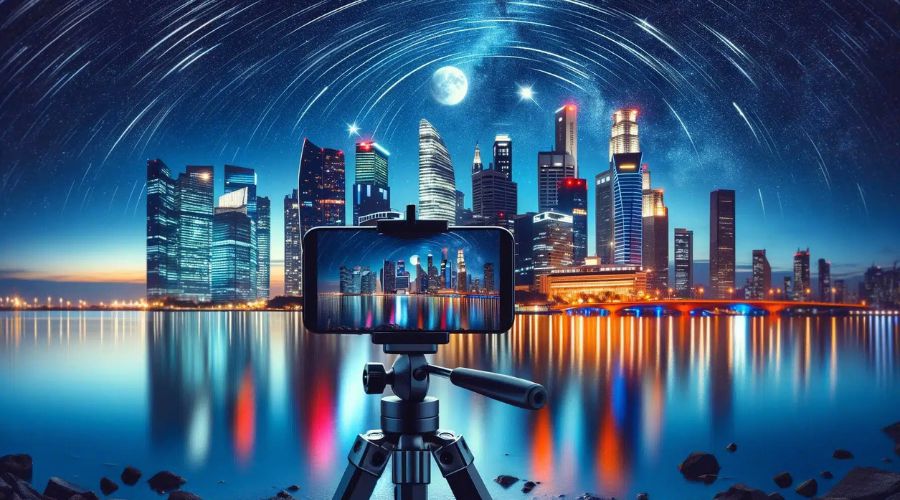
Believe it or not, you can. Modern smartphones can be like Swiss Army knives for photography. Some have manual modes or apps that let you slow down the shutter. They may not be as beefy as a DSLR, but they can surprise you. Just keep ’em still, maybe with a mini tripod, and give it a shot!
What do I do if my light trail photos are too bright or too dark?
Too bright? Close that aperture a bit, like turning down the volume when the music’s too loud. Too dark? Slow down your shutter speed or widen the aperture. It’s all about hitting the sweet spot between too much and too little.
Is there any post-processing magic I can do to jazz up my light trail photos?
Absolutely. Pull those photos into an editing program and tweak the contrast and brightness. It’s like adding a dash of salt and pepper to taste. Maybe even play with the colors to make those light trails pop like a neon sign on a dark street.
Any final piece of advice for a beginner like me?
Patience. Light trail photography is like fishing. Sometimes you catch the big one, sometimes you just enjoy the breeze. Take lots of shots, experiment, and most importantly, have fun with it. Your perfect shot is out there, just waiting for you to snap it up.

